How I Deployed a Python Chat App (ECR and CI Implementation) - Part 3
This blog is part of a 4-part series on building a real-time chat application:
- Part 1: The Manual Way (The "Before" Picture)
- Part 2: A Production-Ready Docker Setup
- Part 3: The Automated CI Pipeline with GitHub Actions & ECR
- Part 4: Deploying to Kubernetes in EKS (Helm for Load Balancer)
Just like part 2 I recommended you to learn Docker, In this I recommend learning about CI/CD pipelines, Github Actions as well as understanding basics of ECR (AWS service) and how it works. AWS understanding in general is required.
In Part 2 (opens in a new tab), we created a perfect, robust Docker setup. Our app now runs reliably on our own laptop. But this still leaves two big problems:
It's Manual: If I change one line of code in app.py, I have to remember to manually run docker build -t my-chat-app . again.
It's Local: The image my-chat-app only exists on my machine. How do my teammates get it? How would a cloud server in production get it?
We need to fix this by building an automated Continuous Integration (CI) pipeline.
Our goals will be the following:
-
When I push new code, it will automatically build the Docker image.
-
Push that new image to a central, shared "warehouse" in the cloud.
For this, we'll use two key services: GitHub Actions (the assembly line) and AWS Elastic Container Registry (ECR) (the warehouse).
Step 1: Setting Up the "Warehouse" (AWS ECR)
Before we can push an image, we need a place to store it. ECR is Amazon's fully-managed private Docker registry.
I went into the AWS Console, searched for "ECR," and clicked "Create repository." I kept it private and named it my-chat-app. That's it. AWS then gives you a unique URL (a "repository URI") for your image.
(ignore the created one I was testing)


Step 2: Giving GitHub the "Keys" to Our Warehouse (IAM & Secrets)
My GitHub repository can't just push code to my private AWS account. That would be a massive security hole. I need to grant it specific, limited permissions.
GitHub Actions is an outside service. Our AWS account is a private, locked-down fortress. By default, AWS will block any login attempt from GitHub. To allow our workflow to push a Docker image to our private ECR repository, we must grant it permission. We do this by creating a dedicated IAM User.
Create an IAM User: In the AWS IAM dashboard, I created a new user called github-actions-ecr-python-redis. You can see this as a robot.

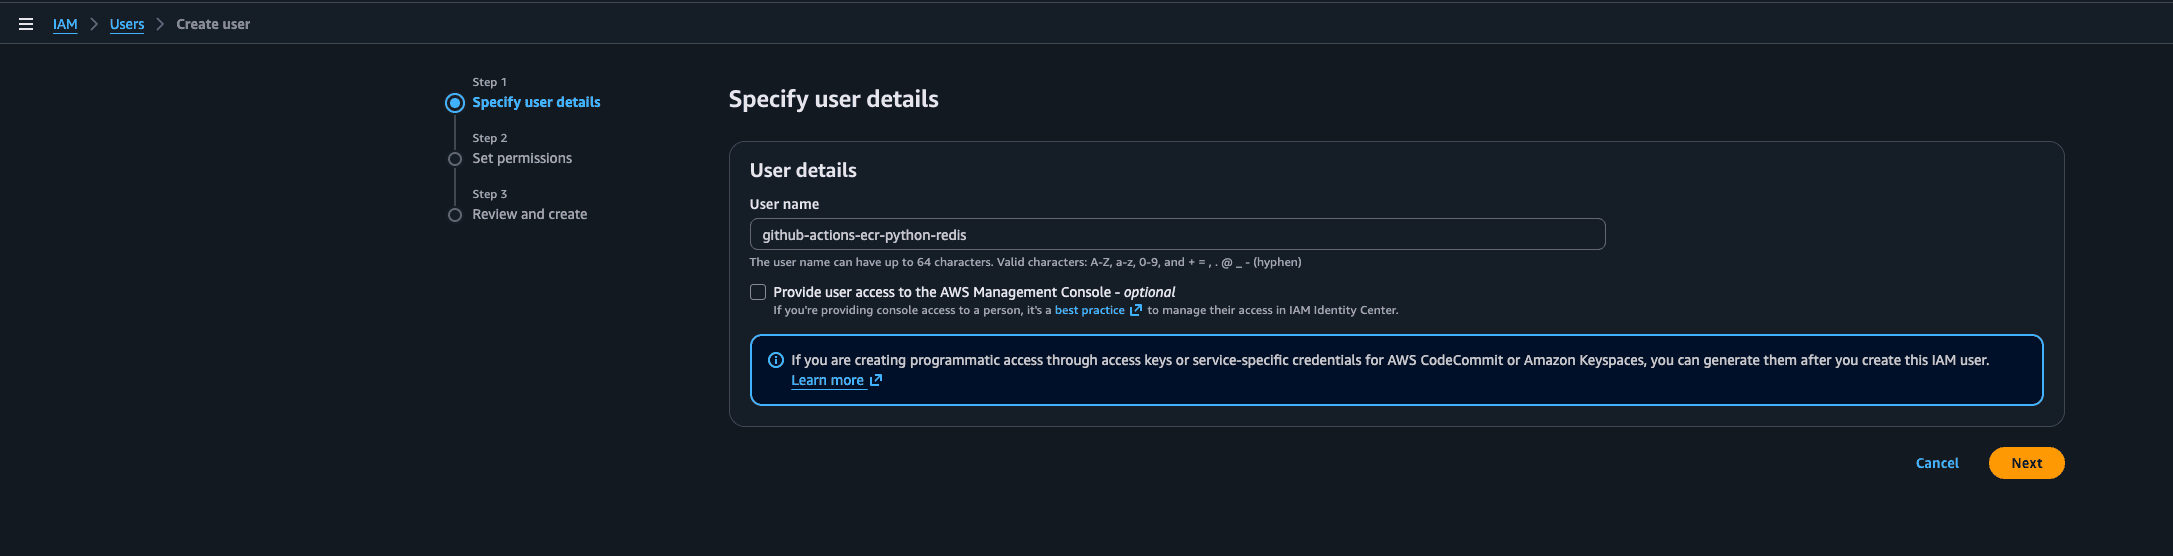
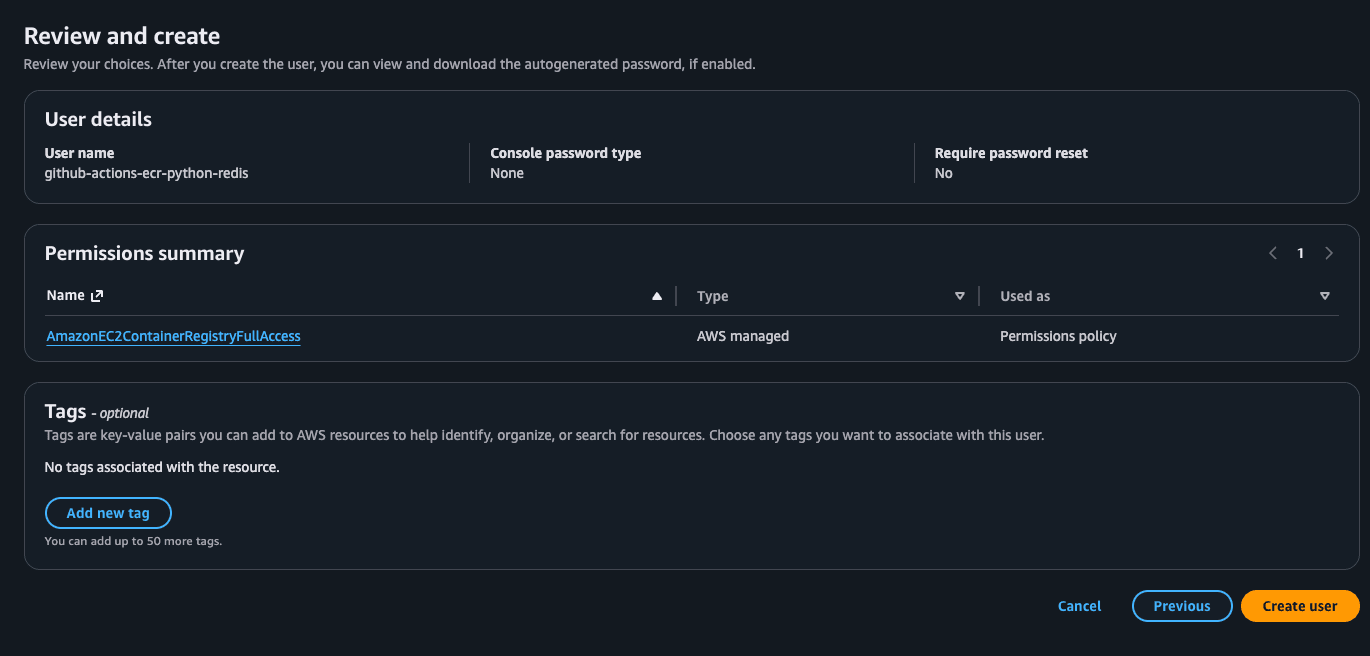
Grant Permissions: On next, select Attach policies directly and search for AmazonEC2ContainerRegistryFullAccess. This gives it just enough permission to log in and push images, and nothing else. (This is known as the principle of least privilege.). Then next and create user.

Click on the created user and Go to the Security credentials tab.
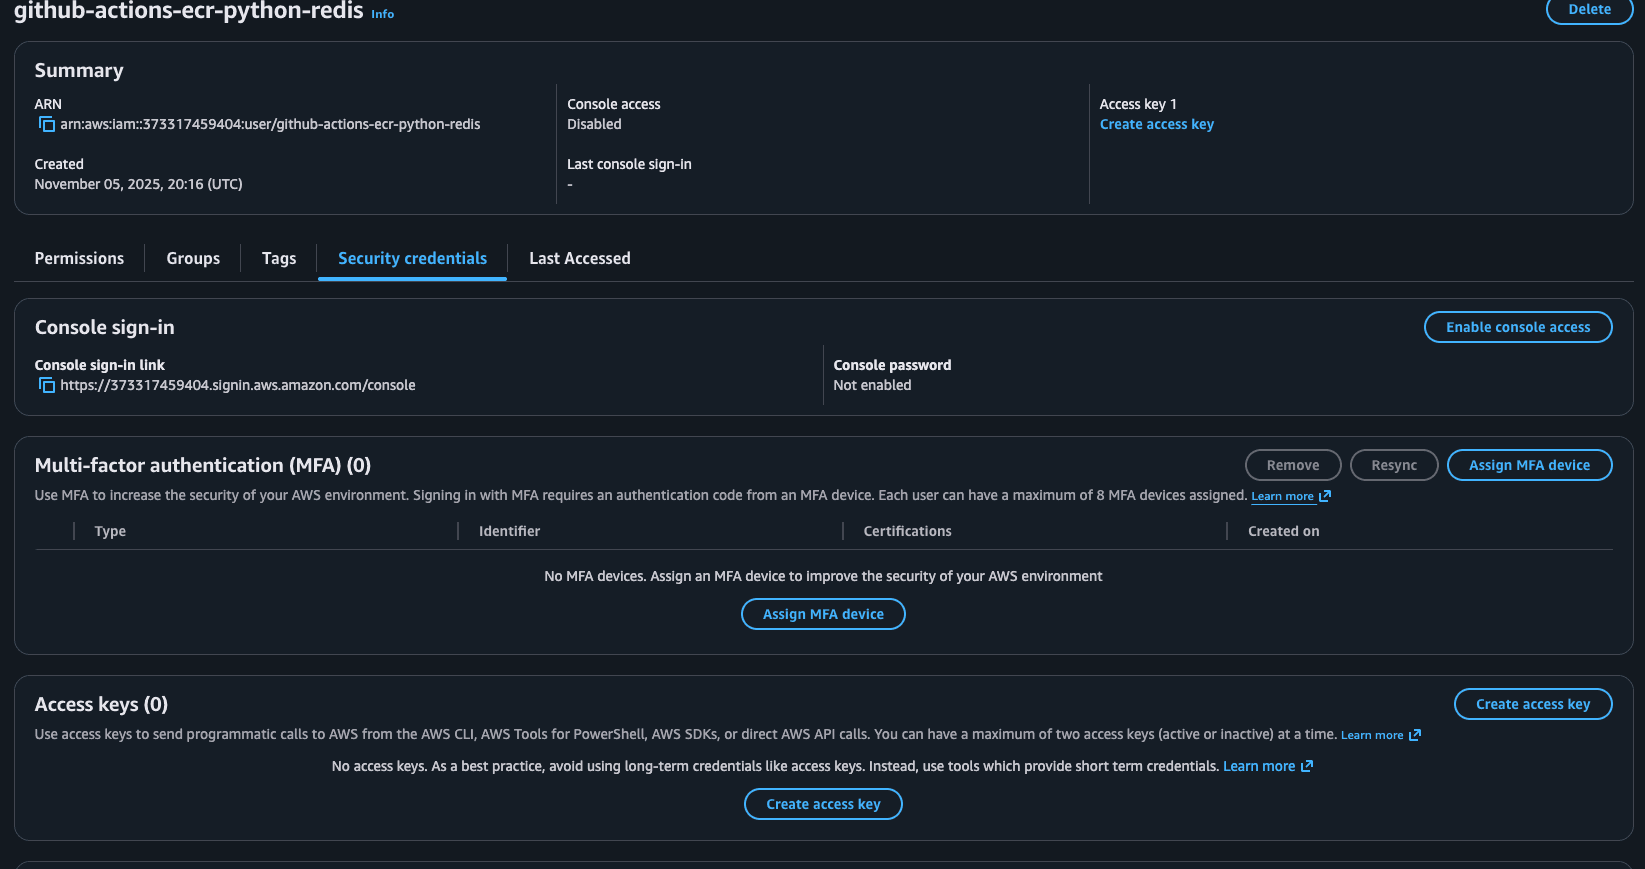
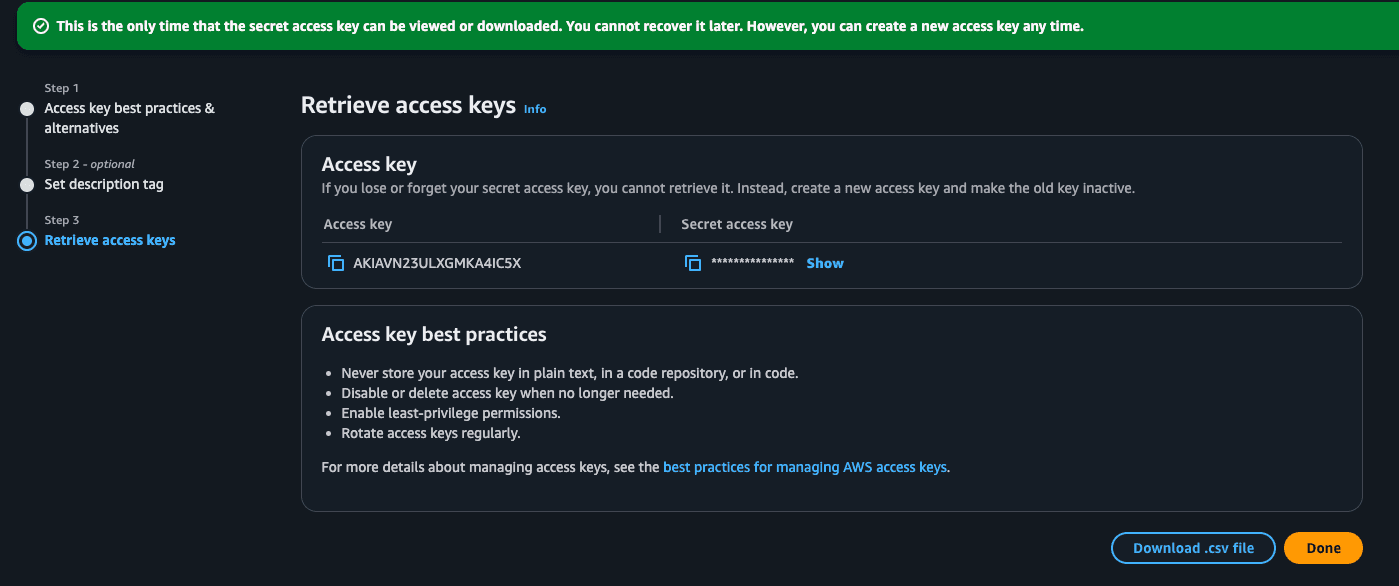
Create Access Keys: Click on Create access key to generate an AWS_ACCESS_KEY_ID and AWS_SECRET_ACCESS_KEY for this new user. See this as the username and password for the robot.
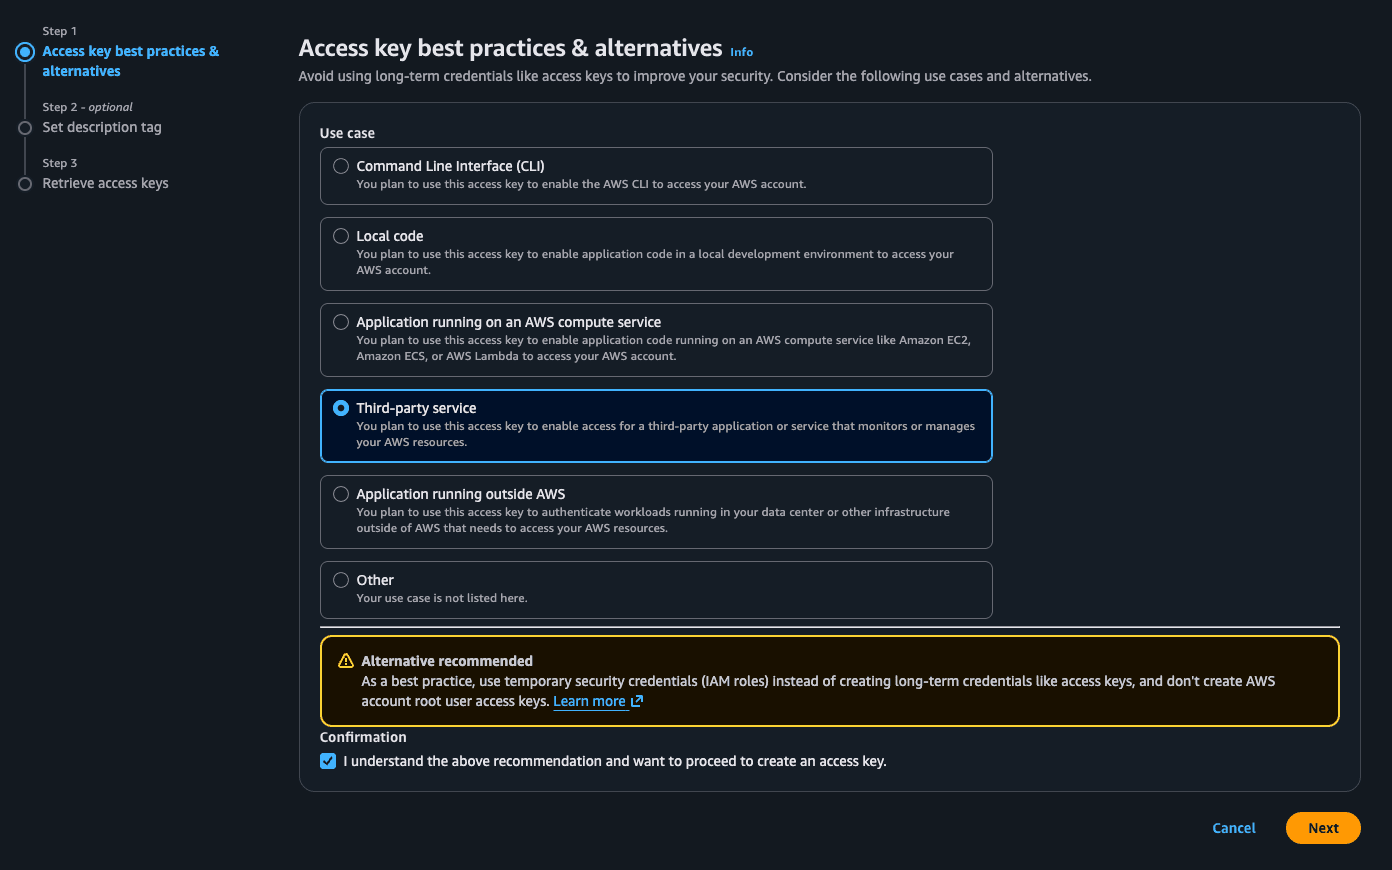
Select third-party service and click next then Create access key.
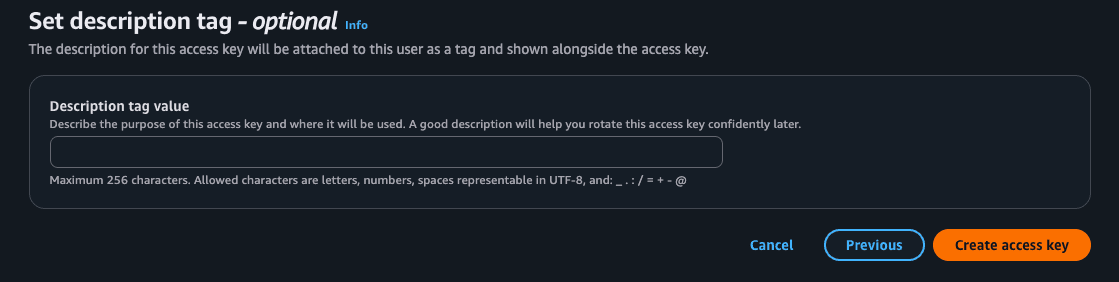
Be careful here, these are the credentials that will be used to authenticate the user we created. Make sure to keep them secure and never share them with anyone. You can save the .csv or remember the access and secret as we will be using them in the next step.
Set GitHub Secrets: We need to give our GitHub Actions workflow the ability to log in to our AWS account. To do that, it needs our AWS_ACCESS_KEY_ID and AWS_SECRET_ACCESS_KEY. We dont want to be hardcoding them in the workflow file, so we will use GitHub Secrets to store them securely.
The moment you run git push with this file (if we are to leave them in the repo), two bad things happen:
1. It's Public: Your secret keys are now on GitHub in plain text for everyone to see.
2. It's Permanent: Even if you delete the keys in the next commit, they are still saved forever in your Git history.
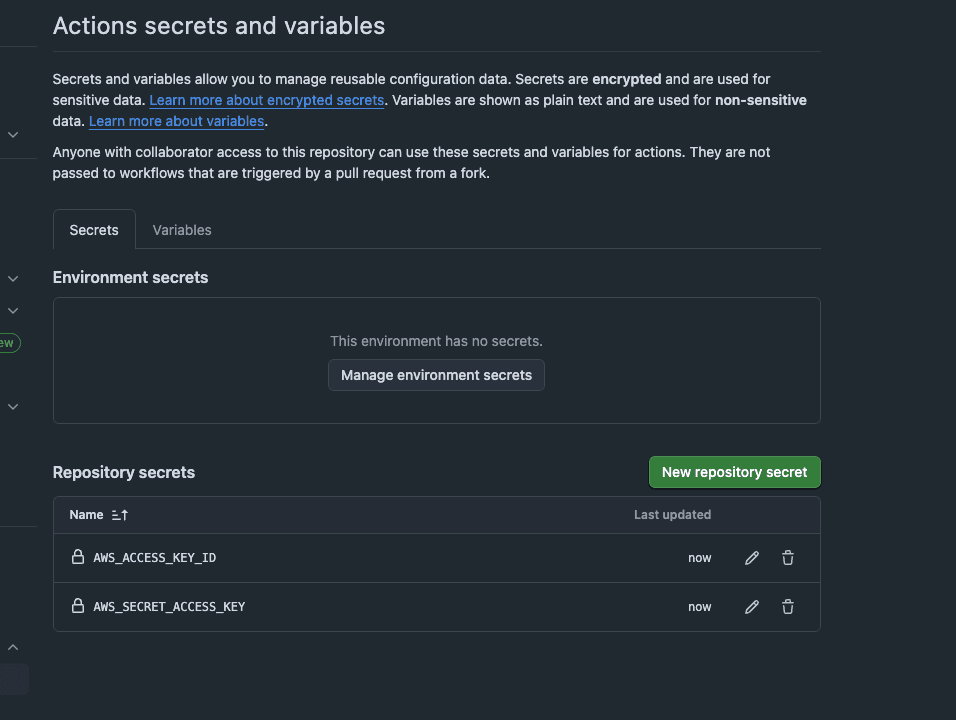
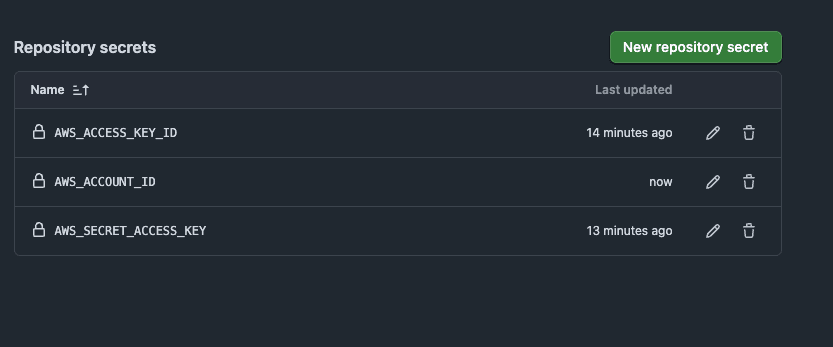
Now to set it up, in my GitHub repo (you should clone the repo I have), I went to Settings > Secrets and variables > Actions and new repository secret, I created two new secrets AWS_ACCESS_KEY_ID and AWS_SECRET_ACCESS_KEY. Paste what you see in the .csv file into the value field or the AWS page youre still on.
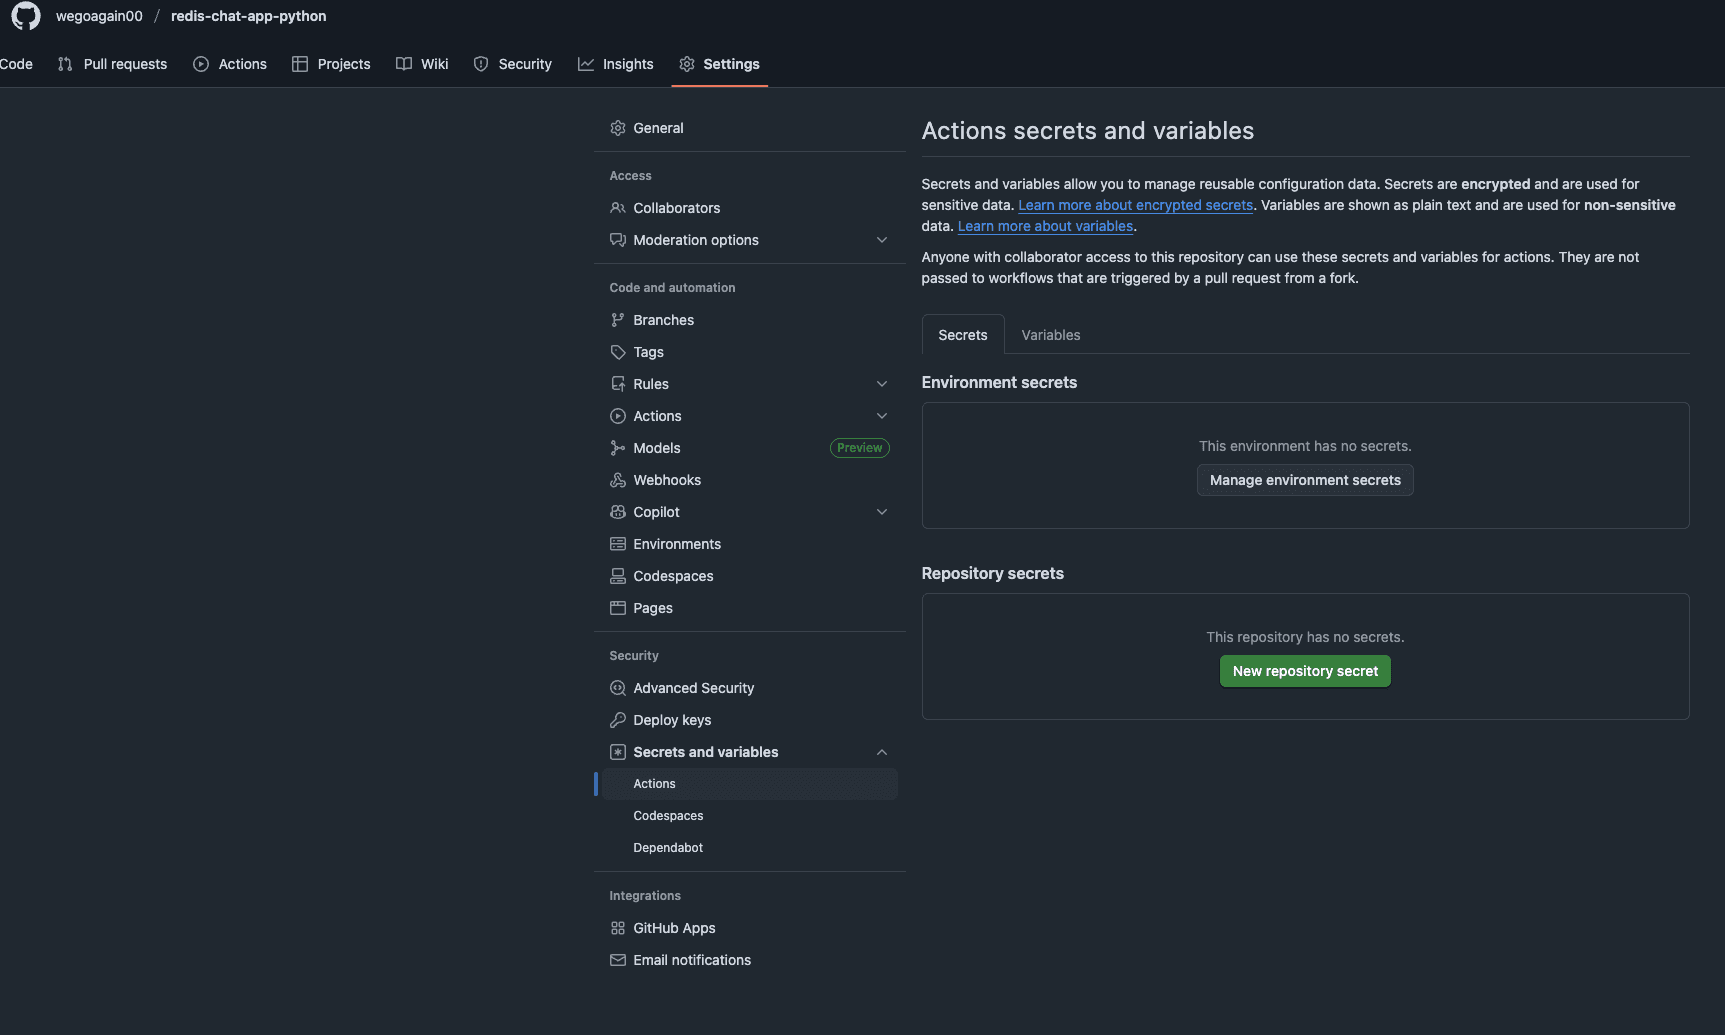
This is where I securely store the keys so my workflow can use them without exposing them in the code. (Never hardcode them in the workflow(ci.yml)).
So in summary we have the IAM user (who is doing something), the policy is (what it can do), and the access keys are (how it will be able to 'log in').
Step 3: Building the "Assembly Line" (GitHub Actions Workflow)
This is the core of our CI pipeline. We will create a new file path in our project: .github/workflows/ci.yml. .github and workflows are folders and ci.yml is a file. This YAML file is a set of instructions for GitHub Actions.
Here is the complete workflow file, paste this in the ci.yml:
name: Build and Push Docker Image to ECR

# 1. This is the trigger
on:
  push:
    branches: [ "master" ] # Runs every time I push to the master branch (yours could be main)

jobs:
  build-and-push:
    runs-on: ubuntu-latest # Use a standard Linux runner

    # 2. These are the environment variables for the whole job
    env:
      AWS_REGION: eu-west-2 # My AWS region
      ECR_REPOSITORY: my-chat-app # The name of my ECR repo
      # This will be the full AWS URI, e.g., 12345.dkr.ecr.eu-west-2.amazonaws.com (make sure you put your region here if different)
      ECR_REGISTRY: ${{ secrets.AWS_ACCOUNT_ID }}.dkr.ecr.eu-west-2.amazonaws.com


    steps:
      # 3. Get my code
      - name: Check out the repo
        uses: actions/checkout@v4

      # 4. Log in to AWS
      - name: Configure AWS credentials
        uses: aws-actions/configure-aws-credentials@v4
        with:
          aws-access-key-id: ${{ secrets.AWS_ACCESS_KEY_ID }}
          aws-secret-access-key: ${{ secrets.AWS_SECRET_ACCESS_KEY }}
          aws-region: ${{ env.AWS_REGION }}

      # 5. Log the Docker client in to the ECR registry
      - name: Log in to Amazon ECR
        uses: aws-actions/amazon-ecr-login@v2
        id: login-ecr

      # 6. Build, tag, and push the image
      - name: Build, tag, and push image to Amazon ECR
        id: build-image
        uses: docker/build-push-action@v5
        with:
          context: .
          push: true
          # We'll tag the image with 'latest' and also the git commit hash
          tags: |
            ${{ steps.login-ecr.outputs.registry }}/${{ env.ECR_REPOSITORY }}:latest
            ${{ steps.login-ecr.outputs.registry }}/${{ env.ECR_REPOSITORY }}:${{ github.sha }}
One thing I did add additional to the AWS_ACCESS_KEY_ID and AWS_SECRET_ACCESS_KEY was the AWS_ACCOUNT_ID, this is just me protecting my AWS account ID. The AWS_REGION is also added to the environment variables but its not sensitive so I had left it.
So dont forget to add the AWS_ACCOUNT_ID (found at the top right corner on AWS console) to your GitHub secrets.
Now that the code is in the ci.yml file, we can automate the process of building and pushing our Docker image to Amazon Elastic Container Registry (ECR). This ensures that our application is always up-to-date and ready to deploy. Commit the file using git add ., git commit -m "Add ci.yml file" and git push.
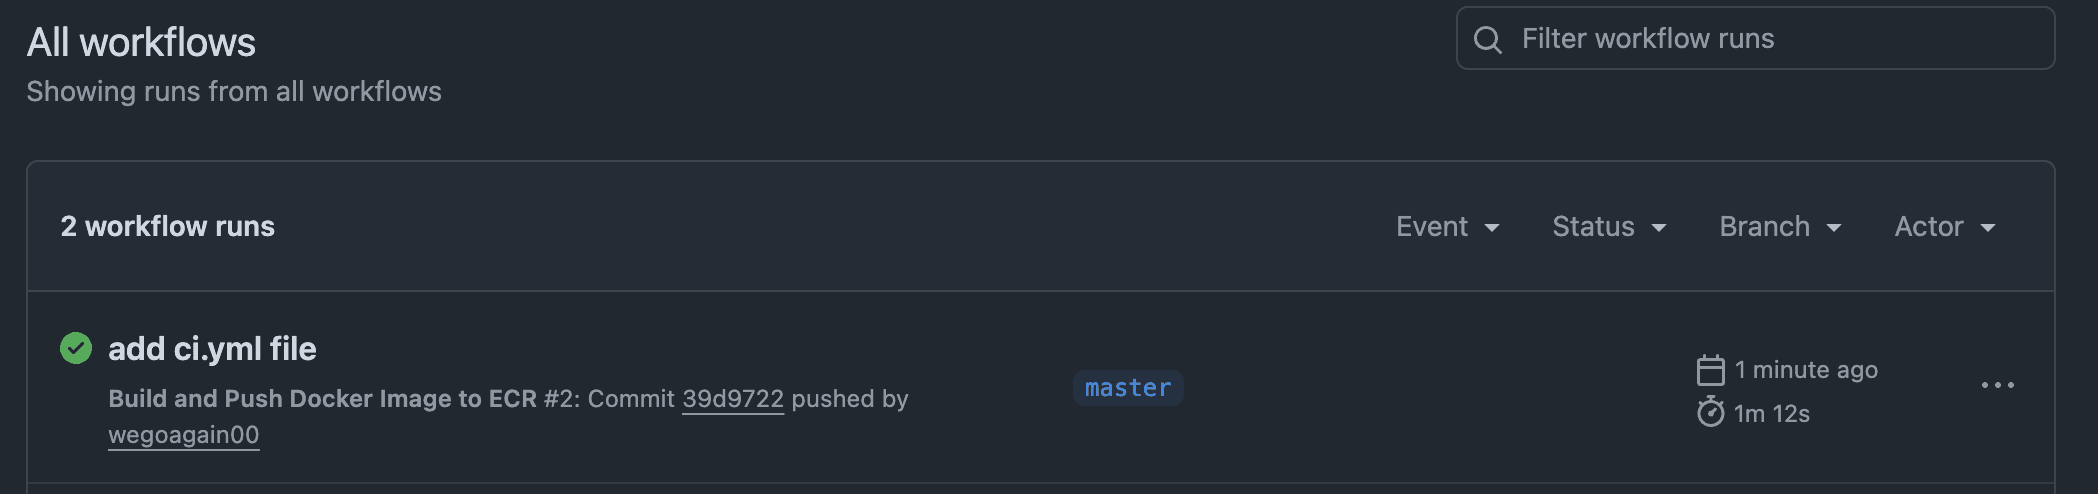
Now, the magic happens. I committed this ci.yml file and pushed it to my master(main) branch. I immediately clicked on the "Actions" tab in my GitHub repository and saw my new pipeline, "Build and Push Docker Image to ECR," was running.
 A few minutes later, it finished with a green checkmark.
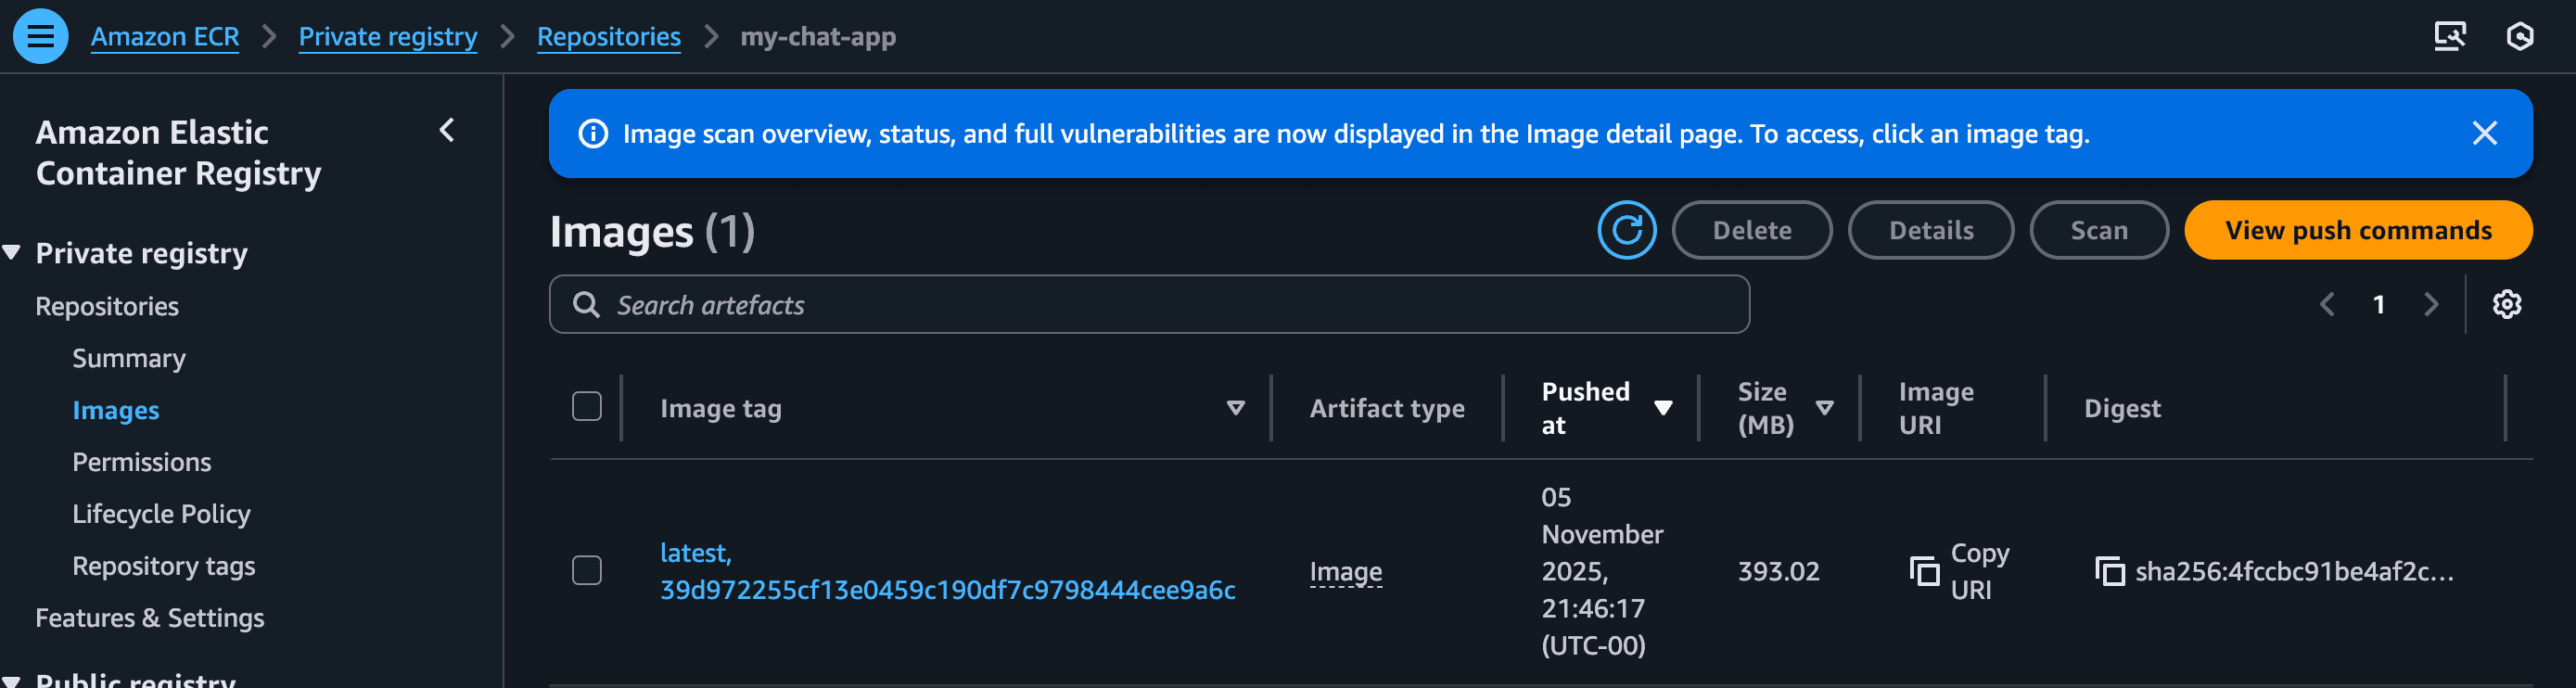
I went back to the AWS ECR console, clicked on my my-chat-app repository, and there it was, my newly built image, tagged with both latest and the unique commit hash.
Conclusion
We've now officially entered the world of CI/CD, (well CI so far!). Our application is no longer just code on our laptop. It's a reliable, versioned, and centrally-stored artifact in a cloud registry.
We've solved the "it works on my machine" problem and the "how do I share my image?" problem.
Our CI pipeline is now complete! We've successfully built an automated assembly line that takes our code, builds it into a Docker image, and pushes it to our private 'warehouse' in AWS ECR.
But an image in a warehouse isn't a running application. It's just a stored artifact.
In the final part of this series, we'll build the 'factory' to run it. We will use eksctl to provision a production-grade EKS (Kubernetes) cluster. Then, we'll write the Kubernetes manifests to deploy our chat app (and its Redis database) from ECR to the live, public internet
Lets head to Part 4 (opens in a new tab)
Future Improvements
What I've built here using an IAM User and GitHub Secrets is a perfectly valid and common way to get a CI/CD pipeline running. It's a fantastic starting point.
However, in a professional DevOps environment, we can make this even more secure. The access keys I'm using are 'long-lived,' meaning they work forever until I manually delete them. If they ever leaked, an attacker could have permanent access to my ECR.
For my next project, I will implement the industry-best-practice: OIDC (OpenID Connect).
What is OIDC? It's a modern trust mechanism. Instead of creating a "robot" user with permanent keys, I will configure my AWS account to inherently trust my specific GitHub repository.
The Benefit: I won't need to store any secrets like AWS_ACCESS_KEY_ID in GitHub at all. This is the standard for modern, secure CI/CD, as it completely eliminates the risk of leaked keys.
© Tawfiq.RSS