How I Deployed a Python Chat App (A Production-Ready Docker Setup) - Part 2
This blog is part of a 4-part series on building a real-time chat application:
- Part 1: The Manual Way (The "Before" Picture)
- Part 2: A Production-Ready Docker Setup
- Part 3: The Automated CI Pipeline with GitHub Actions & ECR
- Part 4: Deploying to Kubernetes in EKS (Helm for Load Balancer)
I HIGHLY RECOMMEND WATCHING TUTORIALS ON WHAT DOCKER IS AND UNDERSTANDING ITS CAPABILITY before proceeding, these easily can be found on youtube. I will provide some useful links below:
- Docker Official Tutorial (opens in a new tab)
- Youtube (opens in a new tab)
- Youtube (opens in a new tab)
The "Why": Solving Our Manual Mess
In Part 1 (opens in a new tab), we got our Python chat app running locally. While it worked, the process was a mess:
- Dependency Hell: We hit a wall with C-compilation errors (
greenlet) just because I was on a newer version of Python. - Polluted Host: We had to install Redis directly on our host machine, where it runs all the time.
- Fragile & Not Portable: The only reason it worked was because our app's default database host (
localhost) happened to match our manual Redis install. This would break on any other machine.
Now, we will solve every one of these problems with Docker. We'll package our app and its database into isolated, portable "containers" that will run identically on any machine.
Step 1: The Blueprint (The Dockerfile)
First, we need to create a "blueprint" for our Python application. This is a file called Dockerfile. It contains the step-by-step instructions Docker will follow to build a self-contained image of our app. (Make sure you're in the directory of the project)
The repository already includes a Dockerfile, which is perfect, but I think it's a bit useless if we don't understand it. So let me break down what it does:
# Use Python37
FROM python:3.7

# Copy requirements.txt to the docker image and install packages
COPY requirements.txt /
RUN pip install -r requirements.txt

# Set the WORKDIR to be the folder
WORKDIR /app
COPY . .

# Make entrypoint script executable
RUN chmod +x docker-entrypoint.sh

# Expose port 8080
EXPOSE 8080
ENV PORT 8080

# Use entrypoint script
ENTRYPOINT ["./docker-entrypoint.sh"]-
FROM python:3.7This is our "fix" for thegreenleterror. It doesn't matter that my Mac is running Python 3.13. The container will be built using a clean, official Python 3.7 image, guaranteeing a stable and identical environment every time. -
COPY requirements.txt /&RUN pip install -r requirements.txtThis is the most important optimisation. Notice the developer didn't copy the whole app first. They only copiedrequirements.txtand then ranpip install. This creates a cached layer. When we change our Python code (app.py) and rebuild, Docker sees thatrequirements.txthasn't changed, so it skips this entire slowpip installstep and uses a cached version. This makes our builds incredibly fast. -
WORKDIR /app© . .Sets up our working directory and copies our application code into it. -
RUN chmod +x docker-entrypoint.shThis allows the script to be executed as an executable file. -
EXPOSE 8080&ENV PORT 8080:ENV PORT 8080: Sets the port environment variableEXPOSE 8080: Documents that the container listens on port 8080
-
ENTRYPOINTInstead of the typicalCMD, we useENTRYPOINTwith our script to:- Redis Readiness: Waits for Redis to be available before starting
- Data Initialization: Ensures demo data is properly loaded into Redis
- Proper Startup: Configures and starts gunicorn with the right settings
Summary of what we learned from the file:
- The "it works on my machine" problem is solved by
python:3.7. - Builds will be fast because of layer caching.
- The app will be running on port 8080 inside the container.
Step 2: Running the System (The "Docker Way")
Now we'll run the exact same two-component system as Part 1, but this time, everything will be in containers.
ENSURE DOCKER IS RUNNING, for mac open Docker Desktop and it should start, for Linux worth researching command on how to start it up, its a good lesson in understanding
2a: Create a Private Network
First, we'll create a private virtual network for our containers. This allows them to find and talk to each other securely, isolated from our host machine.
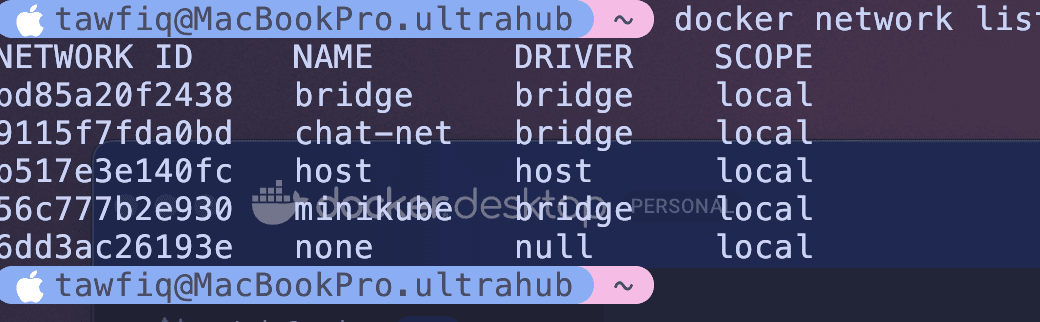
docker network create chat-net
docker network list will prove its existing
2b: Run the Redis Database
Instead of brew install redis, we just run the official Redis image from Docker Hub. We'll attach it to our network and give it a name.
docker run -d --name redis-db --network chat-net redis:latest--name redis-db: We've named this containerredis-db. This is now its hostname on thechat-netnetwork.--network chat-net: Attaches it to our private network.
My host machine is still clean. Redis is running neatly inside its box.
docker ps will show that your container is now running

2c: Building and Running the Chat App
If you have been watching and learning about Docker, you will now understand that docker images are built using Dockerfiles and in our directory we have that Dockerfile from step 1. We will now build the image, then run it to stick with the redis container running in that chat-net network.
First, we build our app image using the Dockerfile:
docker build -t my-chat-app .This command looks for the Dockerfile in the directory we are in and uses it to create our image, -t my-chat-app is a tag which gives our application a name otherwise itll give us some random cryptic ID, and . says where the applications source code will be (which is the current directory)
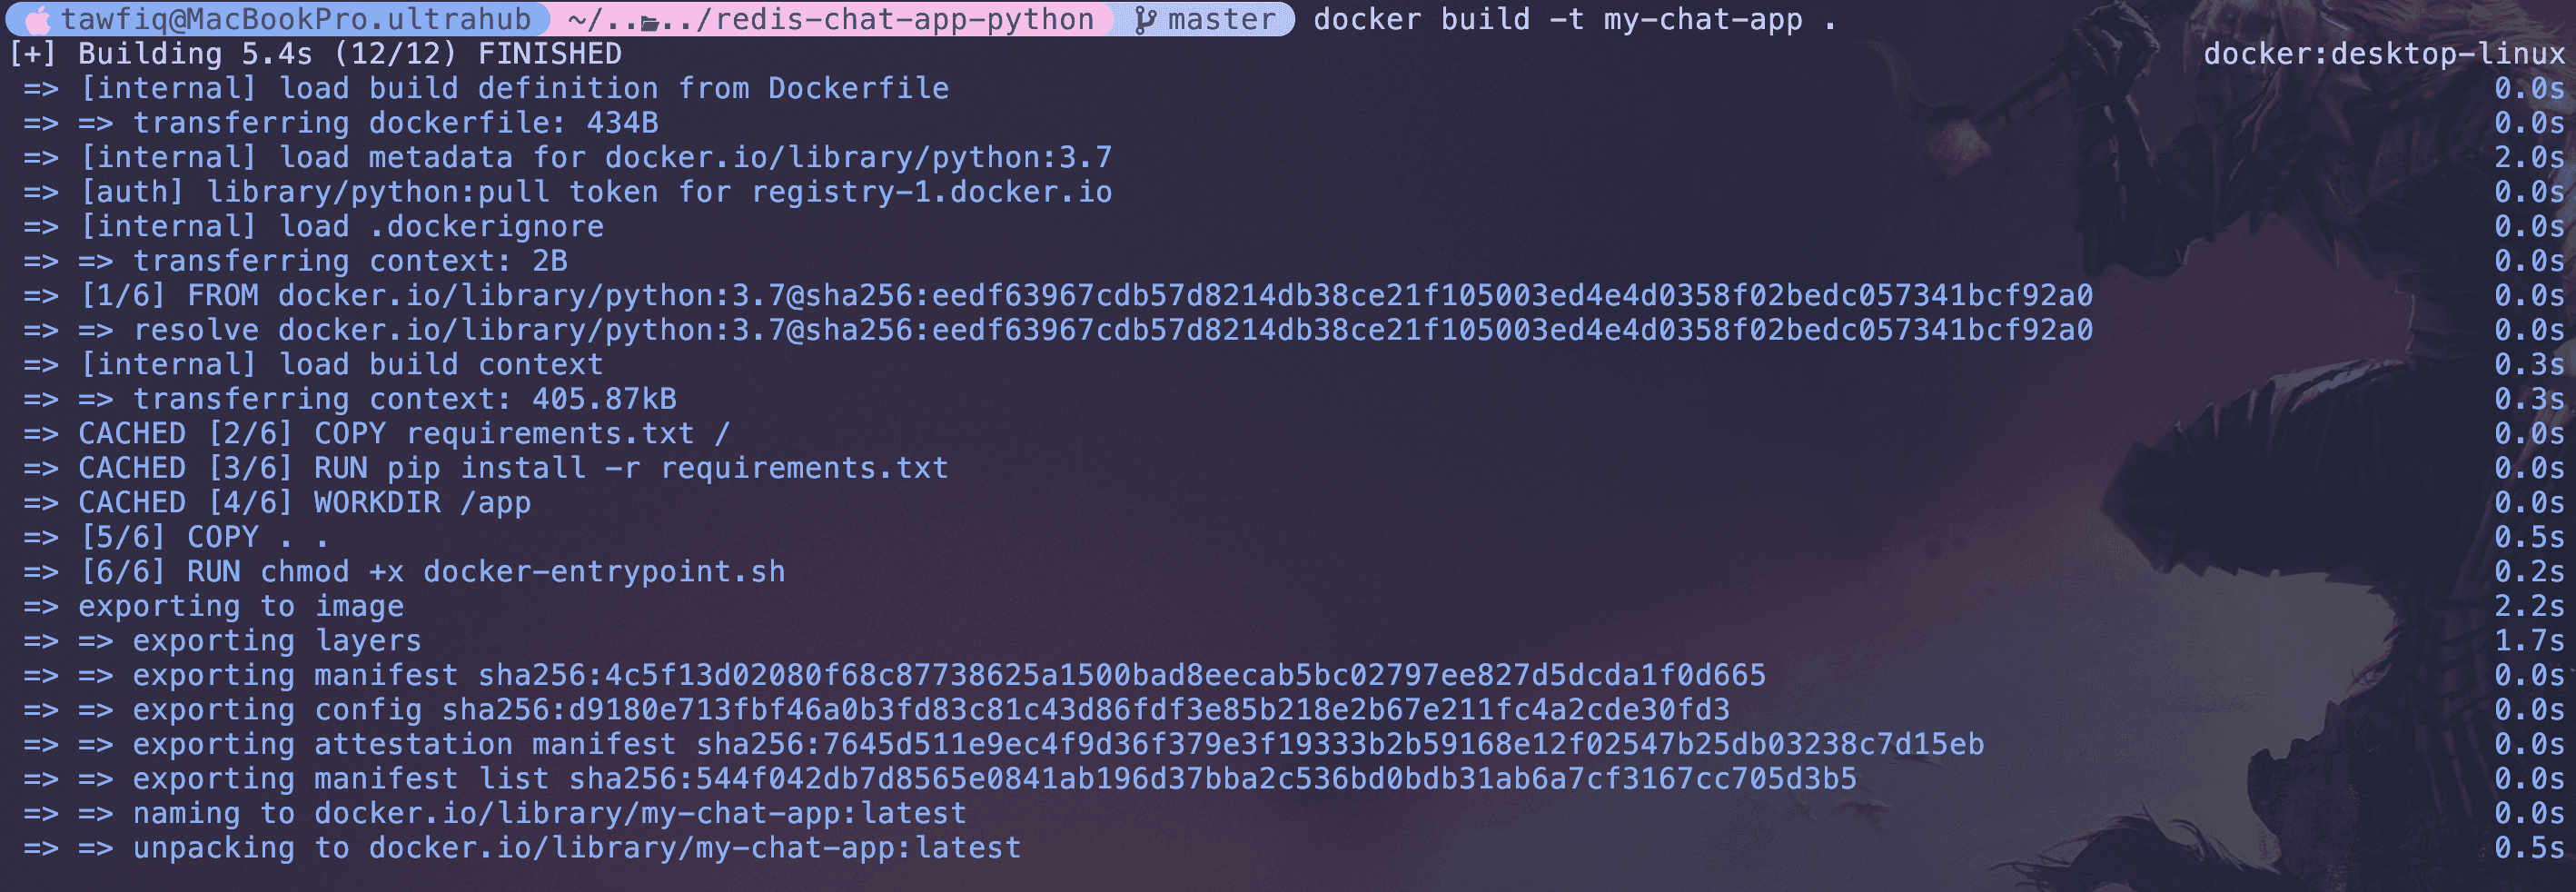
Your image should now be built and using docker images, you should see the image available.

Now, let's run our app. This command is the most important part:
docker run -d -p 8080:8080 --network chat-net -e REDIS_ENDPOINT_URL=redis-db:6379 --name chat-app my-chat-appLet's break down the docker flags:
-p 8080:8080: This connects our host machine's port 8080 to the container's port 8080 (whichgunicornis using).--network chat-net: Connects our app to the same network as the Redis container.-e REDIS_ENDPOINT_URL=redis-db:6379: This is the key. We are setting the environment variable that tells the app where to find Redis. The valueredis-db:6379specifies both the hostname (redis-db) and port (6379). (every app is different and may need additional environment variables, this app only needs to know where Redis is(read documentation for each app))
(at the bottom of the project below ill explain in detail how these connect each other)

Congrats!
Now, you can open your browser to http://localhost:8080 (opens in a new tab), and the app works perfectly.
Whats made this easier and what we have solved is:
- No Dependency Hell: The app is built in a clean Python 3.7 environment. The
greenleterror is gone. (The image just exists so you can just run the container and redis and it just works) - No Host Pollution: My laptop isn't running Redis. It's just running two containers. When I'm done, I can run
docker stop chat-app redis-dband they're gone. - 100% Portable: This exact setup will work on any machine with Docker. I can send this to a teammate, and it will run for them in minutes, not hours.
We've successfully containerised a multi-service application. We've replaced a fragile, manual setup with a reliable, portable, and isolated one.
In our next post Part 3 (opens in a new tab), we'll take this a step further. We'll build an automated CI pipeline with GitHub Actions so that every time we push new code, our my-chat-app image is built and pushed to a central registry (ECR) automatically.
Some people may be confused how microservices talk to each other so heres a bit of detail:
The command we done above -e REDIS_ENDPOINT_URL=redis-db:6379, tells your app container where to find your database container inside Docker's private, isolated network.
This command is the "glue" that connects your two microservices. It solves the problem of service discovery.
I'll explain "Why" and "How"
"Why": Containers are Isolated
By default, a Docker container is a completely isolated "black box."
- Your
chat-appcontainer has no idea that yourredis-dbcontainer exists. - It has its own private
localhost, its own file system, and its own network.
If you just ran the chat-app container, its code would try to connect to the database at 127.0.0.1:6379 (the default) and fail, because nothing is running on port 6379 inside its own box.
You need a way to tell the chat-app container: "Hey, the database you're looking for is not inside your box. It's in that other box over there."
"How": A Two-Step Solution
This solution has two parts that work together perfectly:
Part 1: The Network (--network chat-net)
This is the "physical" connection. When you run both containers with the --network chat-net flag, you are plugging them both into the same private, virtual network.
The most important feature of a custom Docker network is its built-in DNS service.
This means that from inside that network:
- Any container can find any other container by its name.
- When your
chat-apptries to connect to the hostnameredis-db, the Docker network's DNS says, "Oh, I knowredis-db! That's the container at the internal IP172.19.0.2(or something like that)."
This creates the ability for the containers to find each other.
Part 2: The App's Configuration (-e REDIS_ENDPOINT_URL=redis-db:6379)
This is the "logical" connection. Just because the containers can find each other doesn't mean your Python code knows to look for a server named redis-db.
If you look at the app's code in chat/config.py, you'll see this line:
redis_endpoint_url = os.environ.get("REDIS_ENDPOINT_URL", "127.0.0.1:6379")
REDIS_HOST, REDIS_PORT = tuple(redis_endpoint_url.split(":"))
This code means:
- Look for an environment variable named
REDIS_ENDPOINT_URL - If found, use that value (which should be in the format "host:port")
- If not found, default to "127.0.0.1:6379"
- Split the value on ":" to get the host and port separately
The -e flag in your Docker command stands for "environment variable."
When you run docker run ... -e REDIS_ENDPOINT_URL=redis-db:6379 ..., you are injecting a variable into the container.
So summarising this:
- You run the
docker runcommand for yourchat-app. - The
-eflag setsREDIS_ENDPOINT_URL="redis-db:6379"inside the container. - Your application starts.
- It reads
REDIS_ENDPOINT_URLand splits it intoREDIS_HOST="redis-db"andREDIS_PORT="6379". - The app tries to connect to Redis using these values.
- Docker's DNS resolves
redis-dbto the correct container's IP. - The connection is successful!
The code may be different from original and thats because we had to make a few modifications in order to make sure the app worked not just locally.
© Tawfiq.RSS